One of the things I often hear from new GSelector customers is how much they like the colors of the system. As we all know, color can trigger powerfully positive human emotions and it’s no wonder that software with a handsome, colorful look can be so highly appealing. Today let’s take control of GSelector Appearances to make the colors and text styles of the program uniquely yours. Perhaps you already know you can change the coloring and text style in many areas of GSelector such as the Editor, clocks and browse lists. However, until you work in the Security section to create GSelector users, appearance changes made by one user are passed on to all others. I’m going to explain some simple steps that will allow each GSelector user within your enterprise to create their own appearance customizations.
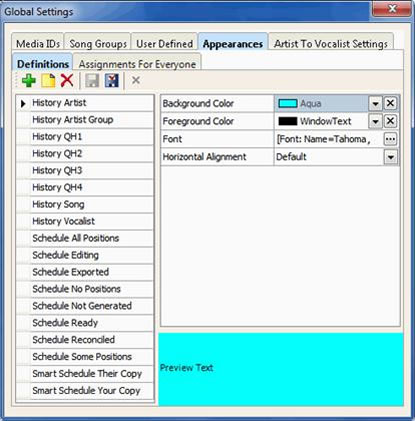
The first step is determining whether GSelector users have already been created. To do this, navigate to Tools | Global Options | Appearances. There you will see two lower tabs. The one on the left is marked “Definitions” but we’re interested in the tab to the right.

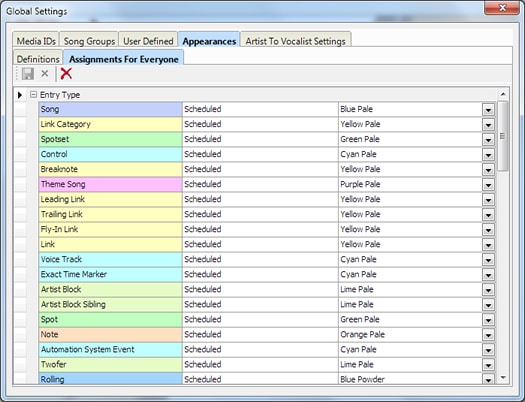
If that tab is labeled “Assignments for Everyone,” the next step will be creating GSelector users, as described in the following paragraph. If “Assignments for…” is followed by a GSelector user name, then users already exist in the system and you can skip the next paragraph.
Creating one or more GSelector users is simple. Navigate to Tools | Administration | Security |User, then click the green Plus button to raise the Add New User dialog box. At a minimum, enter a User Name and Full Name. Password is optional for our purpose. Click OK when finished and repeat these steps to create as many GSelector users as you need. The next step is creating credentials for your new users. Select a GSelector user in the left pane and then click the green Plus button in the right pane to access the New Credentials dialog box. Don’t worry if you haven’t created Organizations and Roles. For now just select the default values and click the OK button. Repeat these steps for each user.
Now you’re ready to begin creating custom, user-specific custom appearances. Choose Tools | Login from the main GSelector menu and then select a Username. Navigate to Tools | Global Options | Appearances | Assignments for [Username].

The appearance assignment you make here will now be in place for Username only, but all other system users will be able to control their assignments as well. Note also that any appearance assignments made elsewhere in GSelector, such as applying colors to a category or attribute values, will be specific to the current user only. Other users will continue to see whatever appearances they have assigned when they were logged in.
So now you can truly make GSelector your system. Color your GSelector world with hues and text styles that are yours and yours alone.