Browse formats in GSelector4 allow you to construct customized views of your data for performing various tasks in the system. For example, you might have a browse format that contains Mood, Sound Code and Texture values that you use in the Editor to track the flow of the music that has been scheduled. We made some significant enhancements to browse formats in Version 4.0 of GSelector that can help you create and fine tune browse formats quickly and easily. In this article we’ll explore the steps to do so.
Let’s say you want to create three new song browse formats that you will use in the Library | Browse window to explore the coding of your songs. One format will be used to analyze Media ID and Record Number. Another will show Research columns so you can sort songs according to their appeal. A third format will show Peak Position and Peak Year codes so you can verify the accuracy of the chart information. Before doing anything, think about the names you will use for your browse formats. In this example we’ll call the first, “Media ID;” the second “Research;” and the third “Chart Information.”
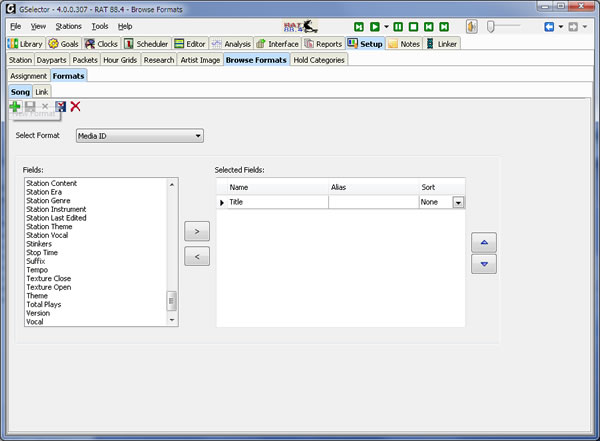
The first step will be creating placeholders for the three browse formats. Navigate to Setup | Browse Formats | Formats | Song. Click the green Plus button to open the New Format dialog box, type in the name “Media ID” and then click the OK button. Now add one field that will likely be used in all three of the formats you are about to create, perhaps Title or Category. We’re not going to build the format here, so after you have added the single field simply click the Save As Format button. When the New Format dialog box opens, enter the name “Research.” Immediately click the Save As Format button again and this time type the name “Chart Information.” You now have three browse format placeholders with which you’ll work in the next steps.

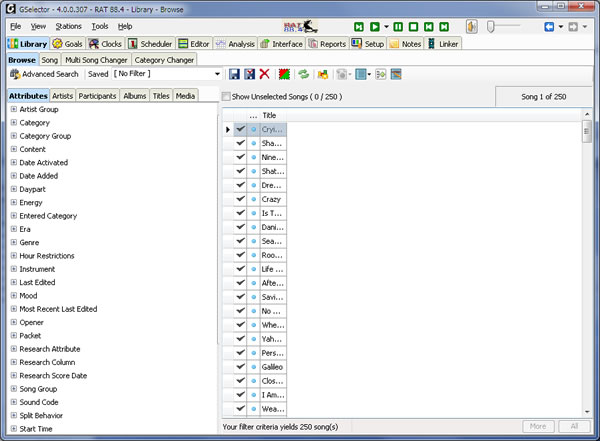
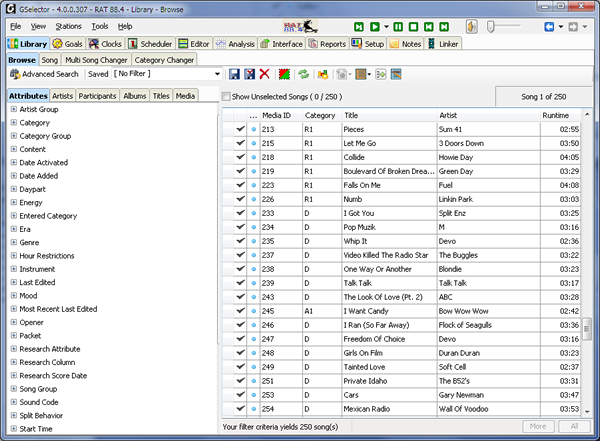
Navigate to Library | Browse and click the Select Browse Format button on the toolbar. Click the “Media ID” format and you’ll see a display containing the single field you added to the placeholder format. Now right-click the header of that column and select “Modify Columns.” This opens the Modify Browse Format dialog box where you can add Media ID, Record Number and whatever other fields you wish to see when the Media ID browse format is active. When finished adding fields click the OK button to close the Modify Browse Format dialog box.


Observe that the Select Browse Format button on the toolbar has changed from blue to orange. This indicates that the browse format has changed and needs to be saved if you want to preserve the changes you made. You will not save just yet. The next step is adjusting column widths to make the data in each column fully or mostly visible. Size each column by clicking and dragging one of its borders in the header to the left or right. Note you can also drag and drop column headers to change the order in which they are placed in the browse format.
When you are happy with the results, click the down arrow to the right of the Select Browse Format button on the toolbar and select the Save option. The Select Browse Format button will change from orange to blue to indicate the format has been saved. If you do not save, the changes you made will be lost when you switch to another browse format or close GSelector4.
After saving, click the Select Browse Format button again and select your Research browse format and build it following the steps outlined above. When finished building Research, follow the same steps to modify and finalize your Chart Information browse format.
By creating placeholder formats in the Setup | Browse Formats | Formats | Song window and then working with them in Library | Browse, you can see exactly how the browse format will appear when you use it later. At the same time you avoid jumping from Setup where you create and tweak the format to Library where you see the results. Doing the bulk of the work in Library saves you time and gives you instant feedback on your work.